

It was a time I spent over year doing lore-friendly models for Need for Speed: Carbon on Blender, like porting PS/UC/World autosculpt models into Carbon.
I think I've said one important thing I'm experimenting with.
It's perplexing and very complicated. And it's called "Autosculpt."
It features four Need for Speed games: Need for Speed: Carbon, Need for Speed: ProStreet, Need for Speed: Undercover and Need for Speed: Nitro. (World not included)
However, Autosculpt targets body parts that are available to bumpers, side skirts, hoods, spoilers, roof scoops, and chop tops.
This also includes two material variants for hoods, spoilers and roof scoops. (Regular and Carbon Fiber)
It can be used by adjusting sliders by each zone and shapeshifting a model at a success of a percentage from the geometry file inside.
As I said before, this guide will teach how to autosculpt in Blender properly.
Preparing resources:
Blender (3.6 is recommended)
NFS CarToolkit (2.8 is recommended for exporting OBJ and 3.1 is recommended for compiling)
Step 1: Importing
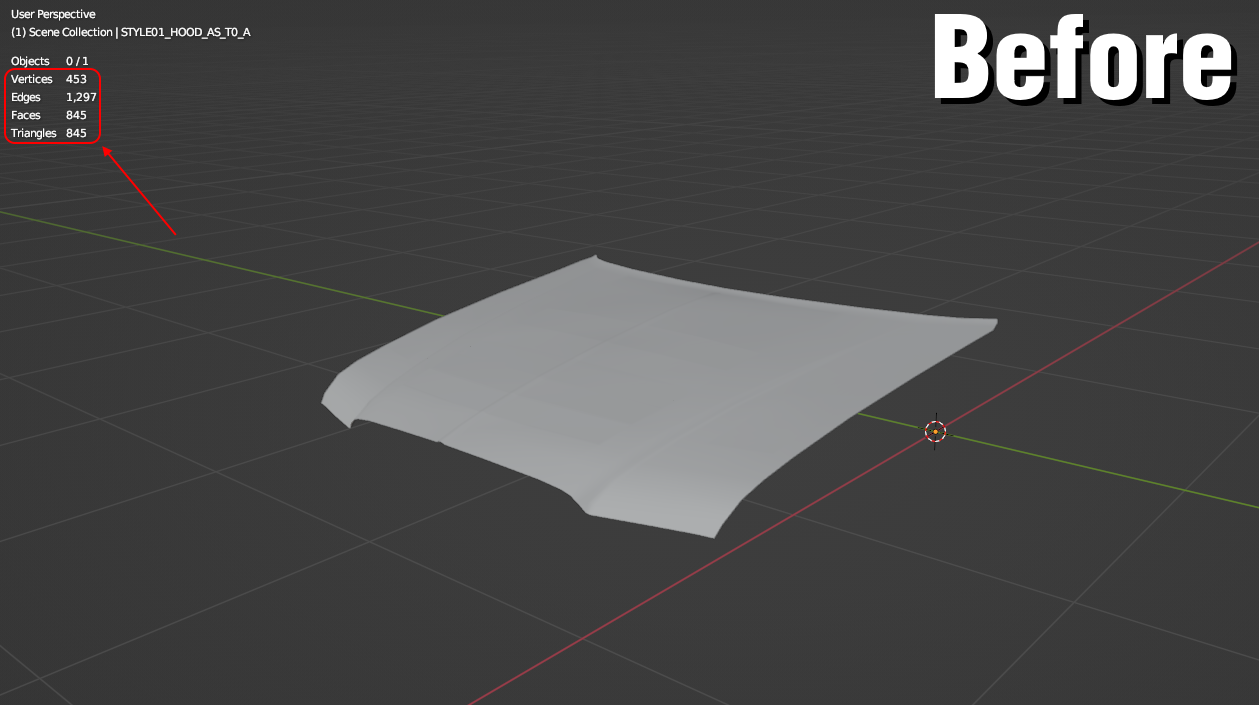
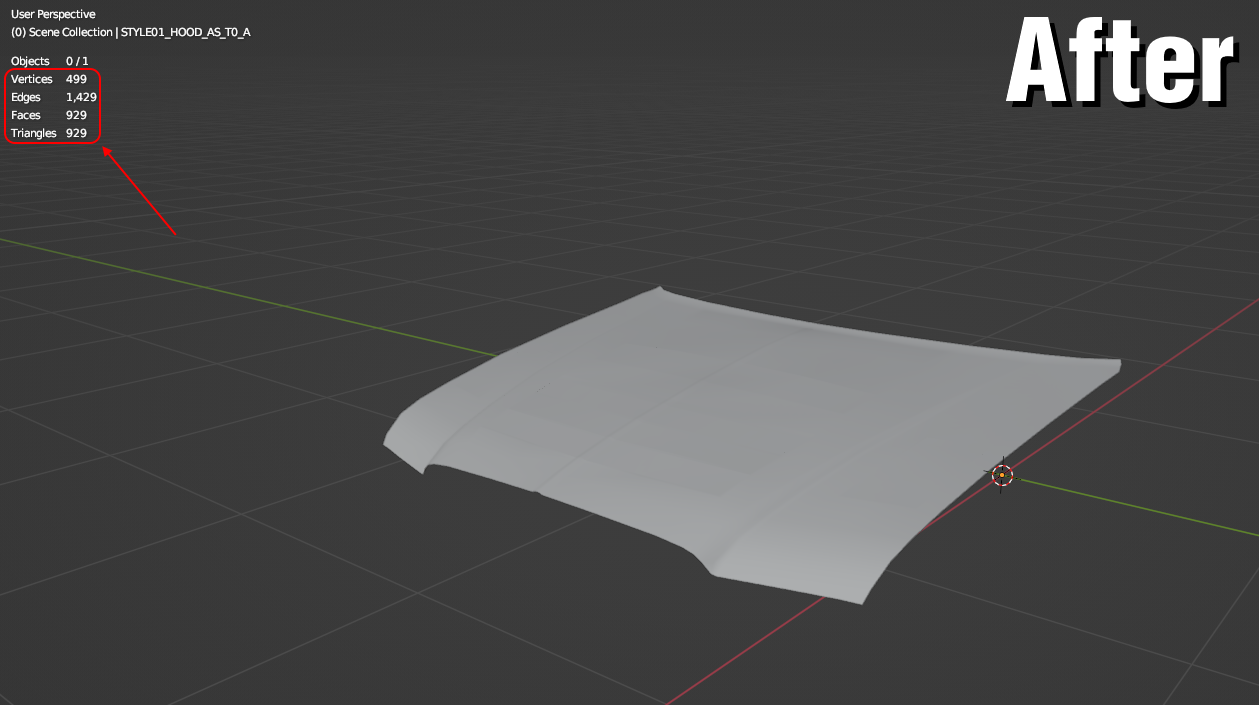
Import the model file (OBJ, FBX, DAE) on Blender (e.g. car, roof scoops, exhaust, spoiler model).
This may flaw autosculpt models from geometry file for missing vertices and cause problems after compiling on CTK.
(But you have to restore it like I did.)
Step 1.5: Polishing
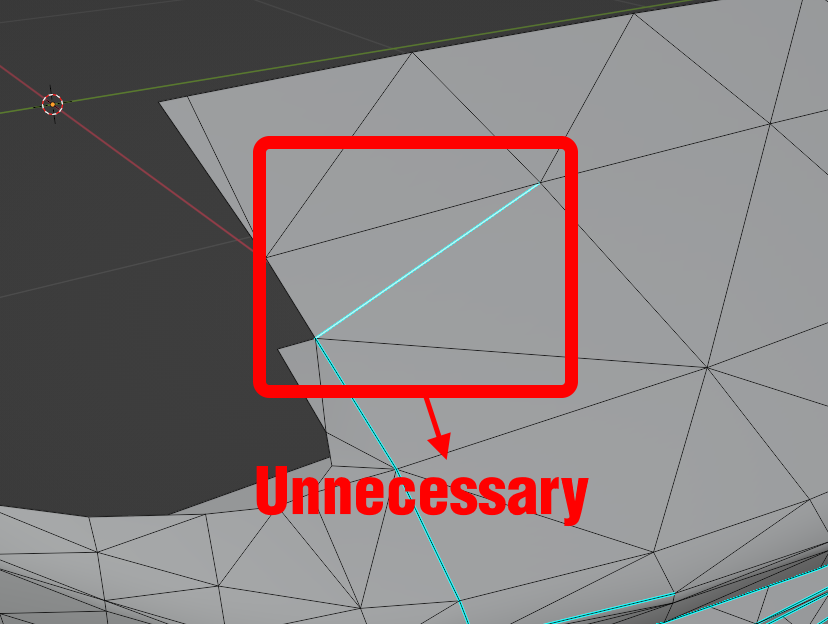
Edit the model in Edit Mode/Modeling tab.
It is recommended to unmark unnecessary sharp edges for a smooth look before autosculpting.
Step 2: Autosculpting
Duplicate the model at the same time. But do not delete, merge or add many vertices that may break in the game. This is what it looks like.
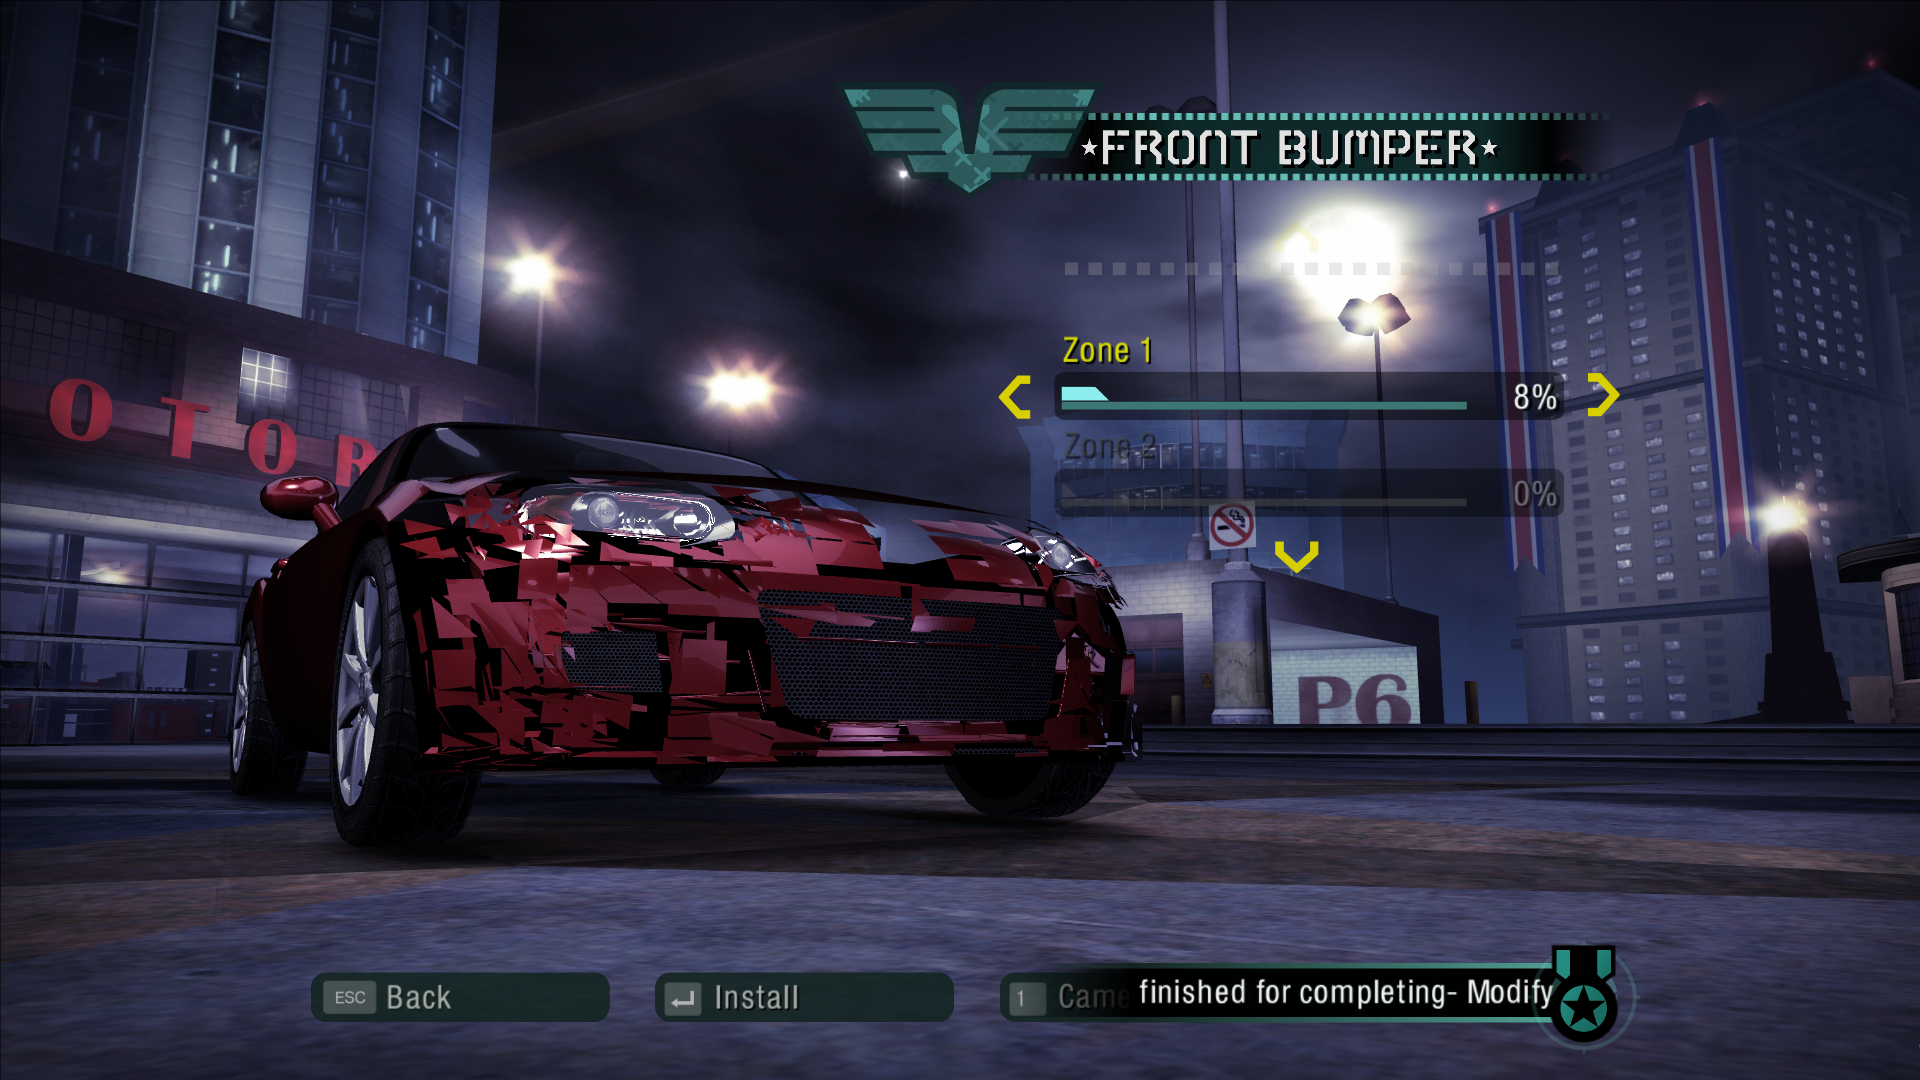
You can move, rotate or scale vertices whatever you want.
Step 3: Naming
After you have finally edited the duplicated model with different proportions and same polycounts,
like moving vertices and UV mappings, rename the model name by adding _TX (T1) besides the LOD type letter.
(A - highest as possible, B, C, D - lowest as considered)
e.g. (KITXX_FRONT_BUMPER_A to KITXX_FRONT_BUMPER_TX_A)
T0 can implement autosculpt (from T1, T2, T3 and so on) from the original model, thus it's duplicated.
Step 4: UV Mapping
Unlike vanilla models, if the UV was moved and look squishy, link select the following part from the model by pressing L in Edit Mode to delimit UVs.
But there are two plans you should know.
Plan A: Modifying by Tools
In UV Editor, there are few tools to modify UV map. (Move, Rotate, Scale, Transform)
To get the perfect look, simply edit the UV from the model reference with original UV.
Simple, right?
Plan B: Modifying by View
This plan is recommended by mapping car skins for vinyl use. (Even grilles, intercoolers etc.)
In Edit Mode below the UV Editing tab, click/press any numpads to preset viewpoint from coordinates (X, Y, Z).
Right click > UV Unwrap Faces > Project from View to map UVs from coordinate view.
For vinyl use: To correct the UV from the template, simply move UV to safe area (Front, Top, Left, Right, Rear). The UV must have center align.
As I mentioned in Plan A, edit the UV (but don't forget the reference for precision looking).
This can also be done after selected every model in no time (But single model takes more time for editing UVs).
Step 5: Exporting
When you ready to finish, click File > Export > Wavefront (.obj) (legacy).
On right corner, click Geometry to show options you check.
Recommended to check for compiling:
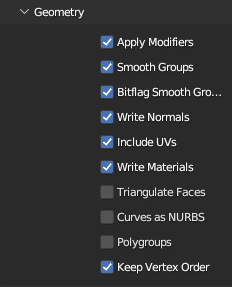
Click "Export OBJ" button.
Step 6: Finalizing
When you load exported OBJ file on CTK, click Export tab.
Click "GEOMETRY.BIN" button to compile. Check logs after compiling.
Replace the GEOMETRY.BIN with exported one in "carname" folder and run the game to see the results..
Addendum - Shape Keys (thanks to Vee-Tec):
If you want to combine all autosculpt parts in one, select all autosculpt parts from T0 to TX.
Make sure the T0 is the active one.
In the green triangle menu thingy, find shape keys. There will be 3 buttons like +, - and down arrow.
Click the down arrow and click combine shape.
And that's all! You can change the shape key slider like in game.